

Gather your supplies: scissors, hole punch(crop-a-dile), laminating pouches and machine(available at Walmart/craft stores), sharpie, paper for tags, gromment and tool for setting, hammer.

Begin by typing address on cardstock and adhere with adhesive. The A-La-Carte tags are really journaling boxes that are 2-sided. Double sided paper works best for laminating.
Once you have laminated the tags, the most difficult part is setting the gromments. These are sometimes found in the sewing section at craft stores because they are really for fabric. This part of the craft is the most difficult.

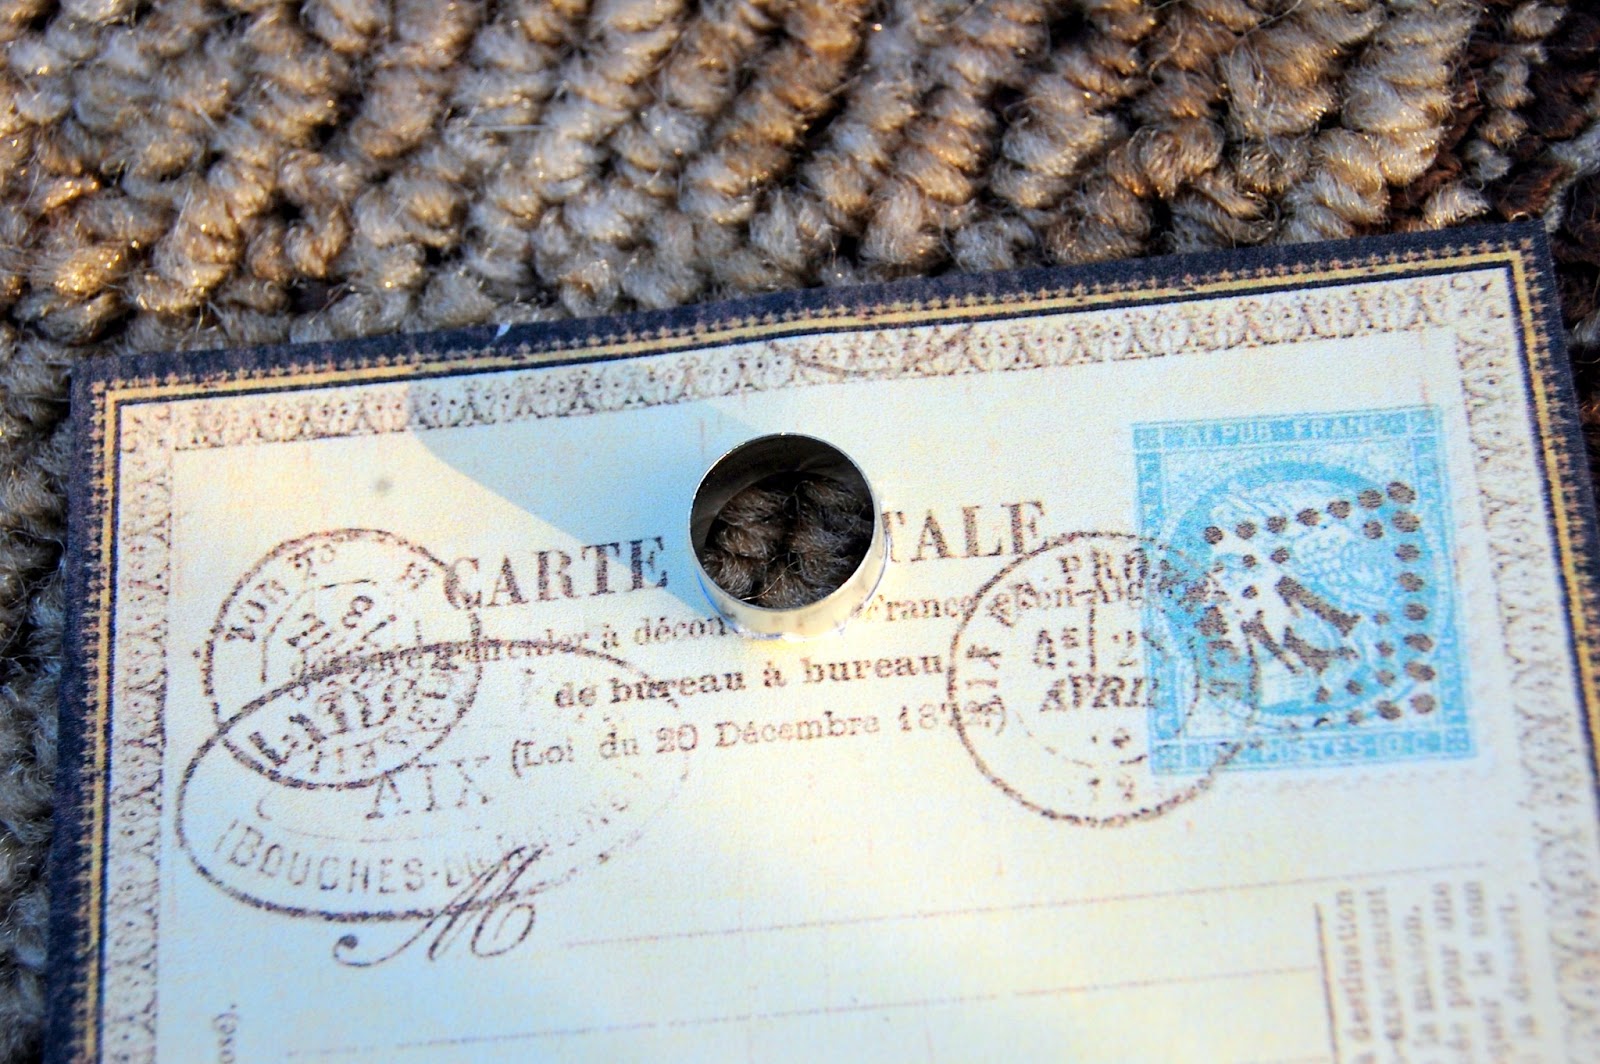
Above: draw a small circle where you want to place the gromment. The picture does not have the sheet laminated, because I had already finished the tags when I thought about showing you this step......so remember, your tags will be laminated FIRST before you draw the circle. Cut out area with punch. Don't get the hole too large....just big enough so the shank of the gromment fits.

Above: hole punch-after you laminate the paper.......
place the gromment through hole, then see below, place the other fitting ring on top and set it.


The above tool kit came with the package. They may be labeled "gromments" or "fasteners"
Place the gromment in the circle and the tool on top and POUND with the hammer HARD ON CONCRETE , WOOD OR OTHER HARD SURFACE OUTSIDE. Please do not do this in the home or you will leave dings in your floor.
Once you have set the gromment, the final step is easy.....
Embellish with ribbons, foo-foo, string, rope, raffia, thread, or your hearts desire!

This is one side, the other side has all the names and address on them. I chose ribbon that matched the paper. Make some long so you have enough length to tie onto the suitcase and knot several times.


TIE TO YOUR LUGGAGE>>>>several knots actually.......

They look great on the red suitcase eh?
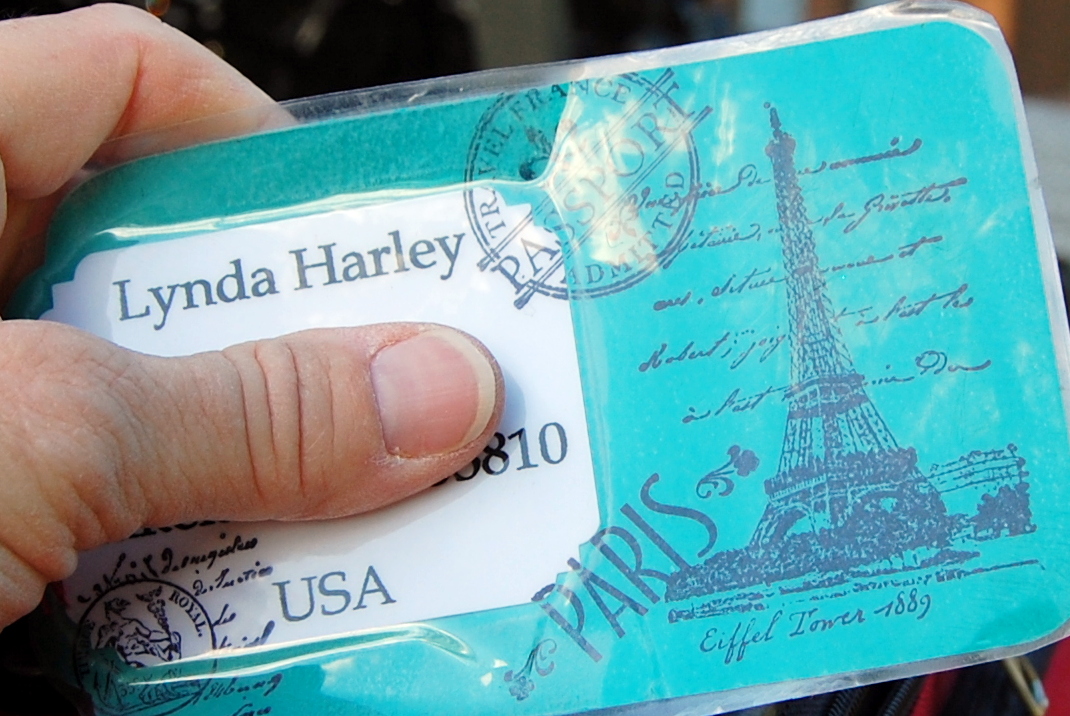
Photo below is a tag made two years ago that survived two trips to Paris, a trip to the Bahamas and Alaska!
These have made great gifts for bridesmaids, friends and family. Last year we made them for the end of the year party and place a tag with just the name on a dollar plastic sand bucket and filled it with goodies. You can even make them, and have the folks write on them with a sharpie after they are laminated........
If you have questions, please feel free to leave me a comment and your email address.
Happy Crafting......Happy Summer! ~Lynda
Linking up with parties below:


Those are beautiful. I can imagine how much people would enjoy receiving such a lovely gift.
ReplyDeleteLynda I love these! I would make some for our luggage but I need a laminating machine. We leave for Alaska Saturday. I'm so glad you joined us this week at Transformed Tuesday.
ReplyDeleteHugs,
Peggy~PJH Designs
What a fabulous idea, they are absolutely beautiful & would be most welcome gifts. I love the coloured ribbon ties - you would certainly be able to pick them out ....
ReplyDeleteThey're so pretty, Lynda, and very creative! We have the airport-provided luggage tags ourselves! But I'm going to have to go out and get some cute scrapbook paper and give these a go. I don't think I've ever used grommets on paper, that will be new to me, but your tutorial is well writte, so I shouldn't have any problems. Thanks for sharing them with us!
ReplyDeleteDebbie